How to take my readings
How do I take my Blood Pressure reading?
1. Prepare and Relax:
- Sit in a comfortable, quiet place.
- Rest for at least 5 minutes before starting.
- Avoid caffeine, alcohol, or exercise for 30 minutes before the reading.
2. Position Yourself Correctly:
- Sit with your back straight and supported (avoid slouching).
- Place your feet flat on the floor and keep your legs uncrossed.
- Rest your arm on a flat surface (like a table) with your upper arm at heart level.
3. Position the Cuff:
- Slide the blood pressure cuff onto your upper arm, about 1 inch above the bend of your elbow.
- Make sure it’s snug but not too tight—you should be able to slide two fingers under the cuff.
4. Take the Reading:
- Turn on the monitor and follow the instructions to start the reading.
- Remain still and silent while the reading is in progress.
- Avoid talking or moving as this can affect the accuracy.
5. Record Your Results:
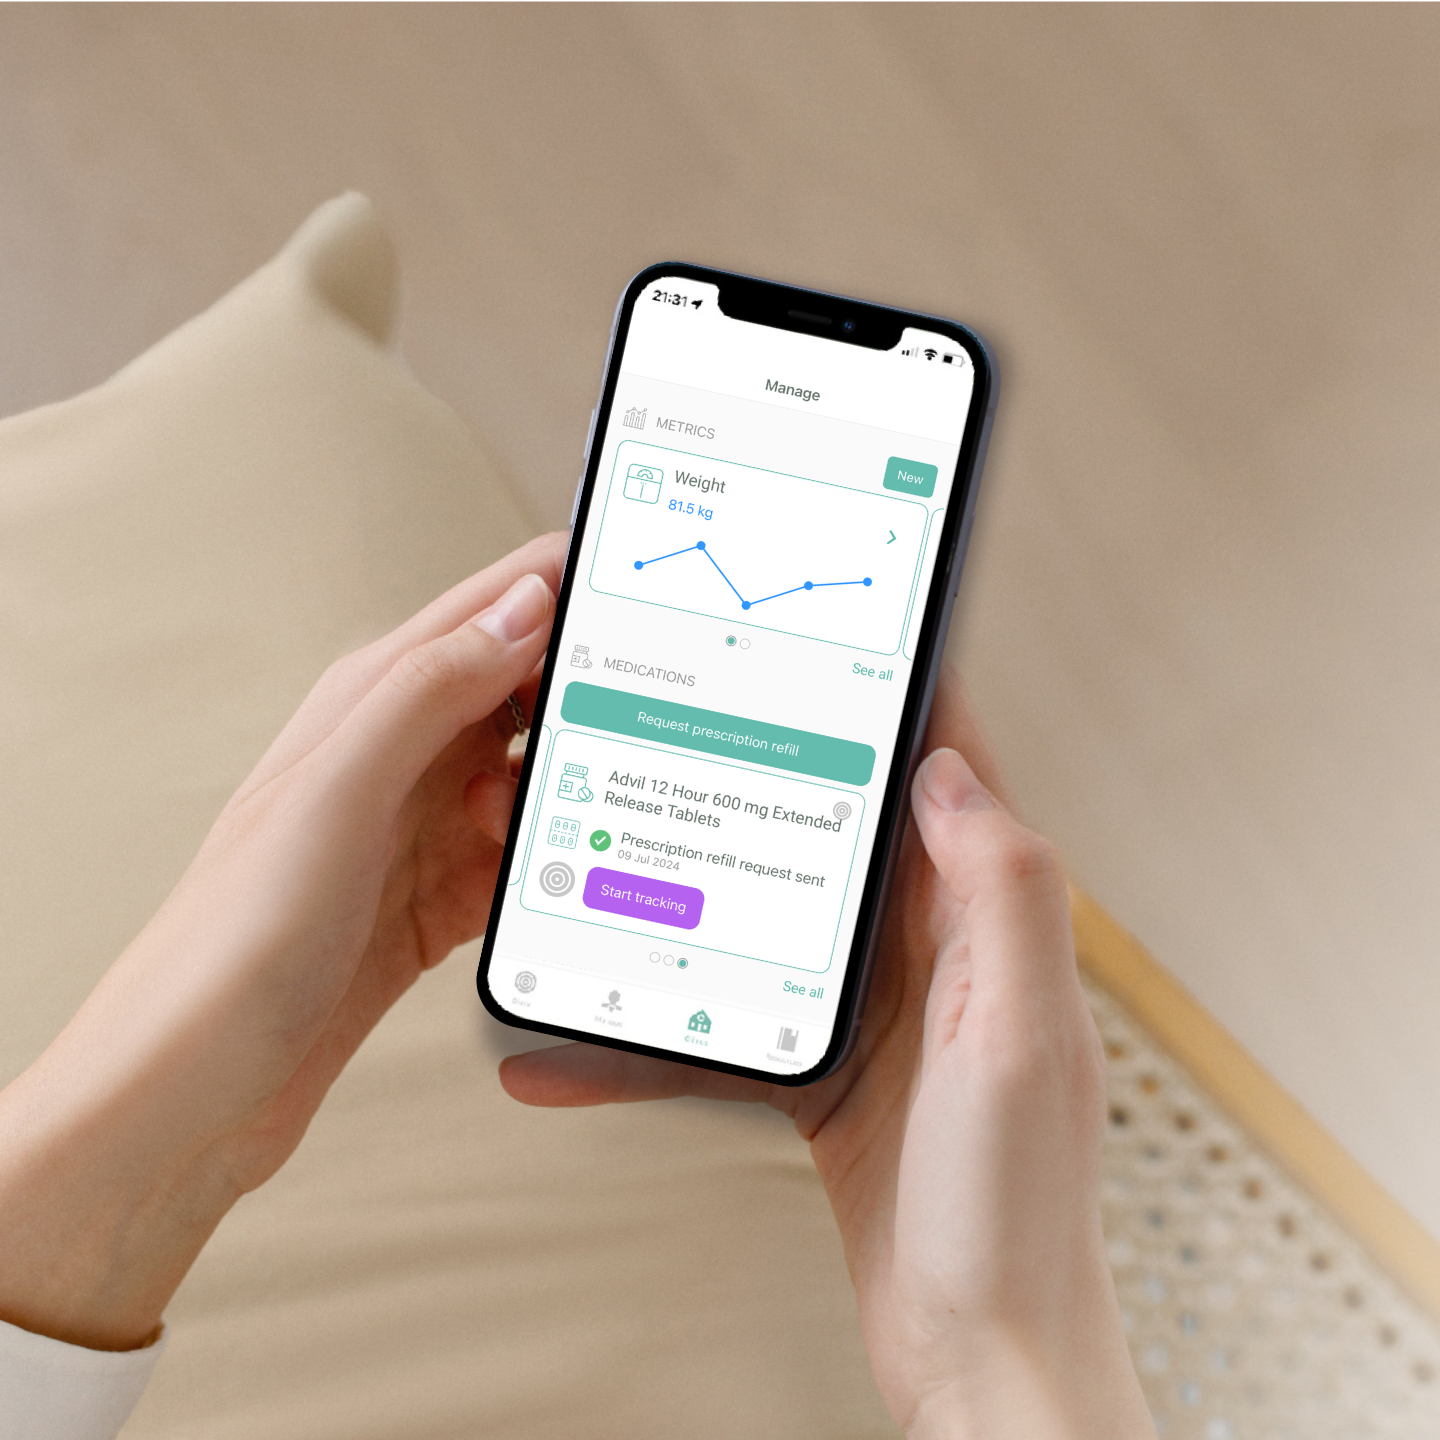
- Enter your blood pressure reading into the Metrics section of the Next Practice app, including both the systolic (upper number) and diastolic (lower number).
- Note the date and time of the reading for accurate tracking.
6. Follow-Up Readings (if needed):
- If your doctor recommends it, take multiple readings a few minutes apart and record each one.
- Track your readings over time in the Next Practice App to see patterns and share them with your healthcare provider.
How to take an accurate Body Composition Reading?
1. Prepare for the Reading:
- Take the reading at the same time each day, ideally first thing in the morning before eating or drinking.
- Avoid exercise, heavy meals, and excessive hydration for at least 2-3 hours before the reading, as these can impact results.
2. Position the Scale on a Hard, Flat Surface:
- Place the scale on a hard, flat floor (avoid carpet or uneven surfaces) for stability and accuracy.
- Ensure the scale is turned on and calibrated according to the manufacturer’s instructions.
3. Stand Correctly on the Scale:
- Stand with bare feet and make sure your feet are clean and dry.
- Align your feet with the sensors on the scale—this is essential for accurate bioelectrical impedance measurements.
- Stand still, with your weight distributed evenly on both feet.
4. Remain Still During the Measurement:
- Avoid moving or shifting your weight while the scale measures your body composition.
- Wait for the scale to complete the reading, which may take a few seconds.
5. Record Your Results:
- Write down your weight reading in the Next Practice App and sync your body composition metrics with the iHealth App, such as weight, BMI, body fat percentage, muscle mass, and any other metrics the scale provides.
- Make sure these notes include the date and time for consistent tracking.
6. Consistency is Key:
- For the most reliable results, take measurements under similar conditions each time.
- Track your metrics over time to see changes and trends rather than focusing on single readings.
How to take a temperature reading using the Contact-Less Thermometer?
1. Prepare the Thermometer:
- Turn on the thermometer and select the appropriate mode for body temperature measurement (as some devices also measure room or surface temperatures).
- Make sure the thermometer is clean and the sensor is free from any dust or smudges.
2. Position the Thermometer:
- Hold the thermometer 1-2 inches (2-5 cm) away from the centre of the forehead. Do not let the thermometer touch the skin.
- Keep the thermometer steady and ensure it’s aligned correctly, as angled or uneven positioning may affect accuracy.
3. Take the Reading:
- Press the measurement button and wait for the thermometer to complete the scan.
- Remain still while the reading is being taken to avoid inaccurate results.
- The thermometer will beep or display the temperature on the screen when the reading is complete.
4. Record the Result:
- Read and record the temperature displayed on the screen.
- Make sure these notes include the date and time for consistent tracking.
5. Repeat for Accuracy (if needed):
- You might prefer to take two or three readings for confirmation, especially if results vary. Wait a few seconds between readings to allow the device to reset.
Tips for Accurate Readings:
- Avoid taking readings immediately after exercise or after being in a warm or cold environment.
- Keep the forehead clear of sweat or cosmetics, as these can interfere with the reading.
- If measuring a child’s temperature, ensure they are calm and still during the reading.
How to take a Blood Oxygen Reading?
1. Prepare the Pulse Oximeter:
- Turn on the pulse oximeter and make sure it’s fully powered.
- Clean the sensor if needed to ensure accurate readings.
2. Position the Device on Your Finger:
- Place the pulse oximeter on your index or middle finger, with the sensor completely covering your fingernail.
- Ensure your hand is warm, relaxed, and resting flat on a stable surface.
- Remove any nail polish or artificial nails, as they can interfere with
3. Remain Still During the Reading:
- Sit still and keep your hand steady while the oximeter measures your blood oxygen level.
- Avoid talking or moving, as this can affect accuracy.
4. Read and Record the Results:
- Wait a few seconds for the reading to stabilise. The display will show two values: your blood oxygen level (SpO₂) and pulse rate.
- Record your results, noting the date and time if you’re tracking readings over time.
5. Check for Consistency (if needed):
- You may wish to take a second reading after a short interval to confirm results.
Tips for Reliable Readings:
- Take readings at rest, not immediately after exercise.
- Make sure your hand is warm, as cold fingers can lead to inaccurate readings.
- Keep the oximeter clean and store it properly when not in use.
How to take my readings
What devices can I buy through Next Practice?
We offer a selection of iHealth devices to help you manage your health from home:
- NEO Blood Pressure Cuff
- NEXUS Wireless Body Composition Scale
- AIR Wireless Pulse Oximeter
- Wireless No-Contact Infrared Forehead Thermometer
Each device is easy to use and some also integrate seamlessly with the Next Practice app to help you track important health metrics.
Why should I choose iHealth devices?
iHealth® has been a leader in connected health since 2010, when it introduced the world’s first blood pressure monitor compatible with Apple iOS. Today, iHealth offers a wide range of innovative health products, including wireless blood pressure monitors, pulse oximeters, thermometers, blood glucose monitors, and body analysis scales, all designed to help you easily monitor and manage your health.
What makes these devices unique?
iHealth devices are clinically validated and listed on the Australian Register of Therapeutic Goods (ARTG). They’re used in hospitals and aged care facilities across Australia and New Zealand, including trusted institutions like NSW Health, RPA Virtual, and Te Whatu Ora (Health New Zealand). By connecting with the Next Practice app and Apple HealthKit, your iHealth device data can also be seamlessly shared with your healthcare provider.
How do health devices support my wellbeing goals?
iHealth’s Bluetooth-enabled devices empower you to become an active participant in your healthcare journey. You can calculate health data, track your progress, and securely share results with your provider. This comprehensive approach gives you real-time insights, so you can stay informed about your health and make proactive decisions alongside your healthcare team.
How can I share my readings with my Doctor via the Next Practice App?
iHealth devices are optimised for seamless data integration with the Next Practice app, allowing your provider to view your health metrics directly during your appointment.
- If you have an Apple device and enable Apple HealthKit:
Your Blood Pressure and Weight readings sync automatically from the iHealth app to Apple Health, and from there, directly to the Next Practice app. This integration ensures your provider has immediate access to your latest readings without any extra steps.
- If you do not have an Apple device or you disable Apple HealthKit:
You can manually enter your Blood Pressure or Weight data in the Next Practice app by going to the Metrics section and selecting ‘Add New’. This option ensures that your provider can still see your most recent readings even if automatic syncing is not available.
This flexibility means you can always keep your provider updated, helping them monitor your progress and provide the best care possible.
Can I add readings from a different device?
Absolutely! If you have readings from any device, you can manually enter your Blood Pressure or Weight data in the Next Practice app by going to the Metrics section and selecting ‘Add New’. This gives you the flexibility to track your health data within the app, and your provider will have access to these readings, ensuring they’re up to date on your health status.
Get the Next Practice App & Connect with your Practice
Sharing your health metrics with your provider has never been easier. Simply adding your Blood Pressure or Weight readings into the app will allow your provider to review your health holistically at your next appointment.